|
ftp.delorie.com/wood/tips/parallax-jig.html
|
search
|
Parallax Pattern Jig
After rejecting a couple of ideas about how to project a pattern
onto the work while turning, I came up with this idea - make a jig to
hold two copies if the plans, one cut along the finished contours and
the other uncut, so that you can use the parallax effect to line up
your eye correctly with the plans.
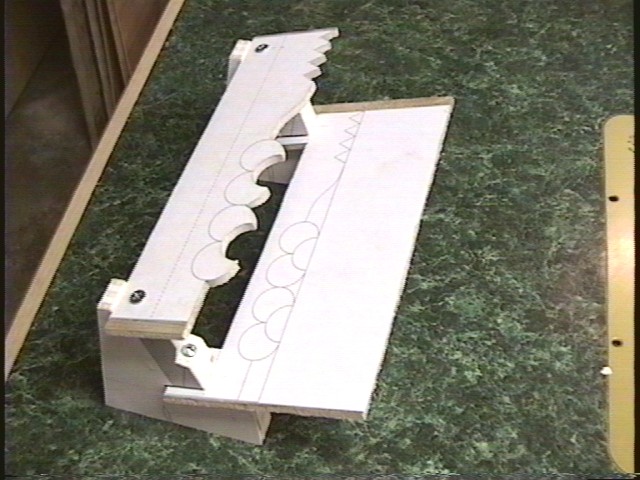
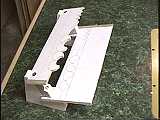
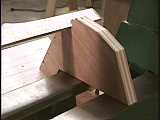
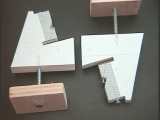 This photo shows the end brackets for the jig. You can download a 5k PDF for the plans I used to
make these, but they're scaled for a 14" lathe , max 3" square blank,
and 14 degree viewing angle, so you'll have to adjust them as needed
for your lathe and the angle you tend to view the wood at.
This photo shows the end brackets for the jig. You can download a 5k PDF for the plans I used to
make these, but they're scaled for a 14" lathe , max 3" square blank,
and 14 degree viewing angle, so you'll have to adjust them as needed
for your lathe and the angle you tend to view the wood at.
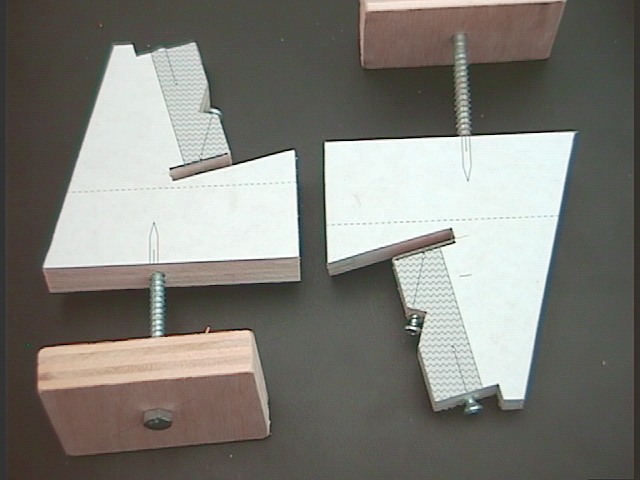
As you can see in the photo, there are two places to hold a piece of
1/4" plywood with a pattern stuck to it with spray adhesive. The top
one is held in place by a #8x3/4 wood screw. The second is held by a
#8x1-1/4 sheet metal screw with the tip blunted. The plan is to drill
just a countersink 1/2" from the edge, and have the blunted screw push
against it.
The pattern also has a shaded area where I plan on putting a 2.5"
piece of 3/4 pine between the two patterns to stiffen them. The
assembly procedure would be this: Insert the bottom pattern and pine
stiffener. Bolt the jig to the lathe bed. Line up each jig end with
the centers and tighten. Attach the top plan.
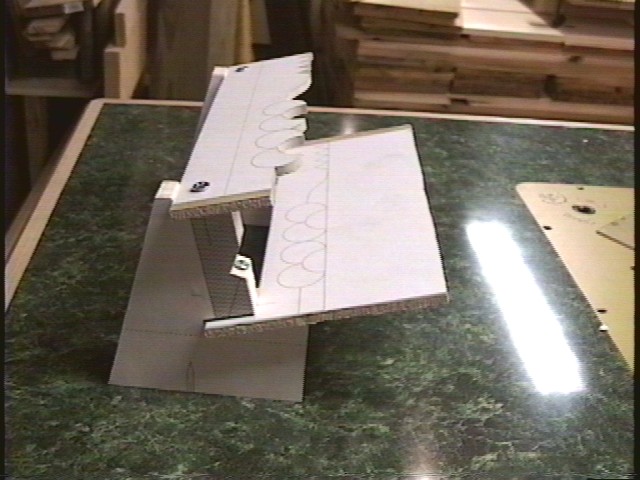
Ok, after actually using that jig, I realized that I
hadn't left enough space for the banjo. So, we try again...
The new jig moves the lower template below the banjo. It
also positions the upper template halfway between the lower and the
centerline, so that the amount you're "off" is the same as the
deviation between the patterns. You can download PDFs for a full-scale plot of just the jig ends or a scaled-down plot of the whole assembly.
To align the jig, here's what I did: First, put a straightedge
along the end of the patterns and the end grain of the blank, right
near the spur center. This tells you if they're all aligned
lengthways. Next, on the first turning you do, turn a detail at each
end to the correct diameter using calipers, and use a straightedge to
make sure the surface of the wood and the marks on the two patterns
are in line. After this, it's aligned, and you shouldn't need
calipers any more.
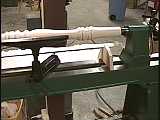
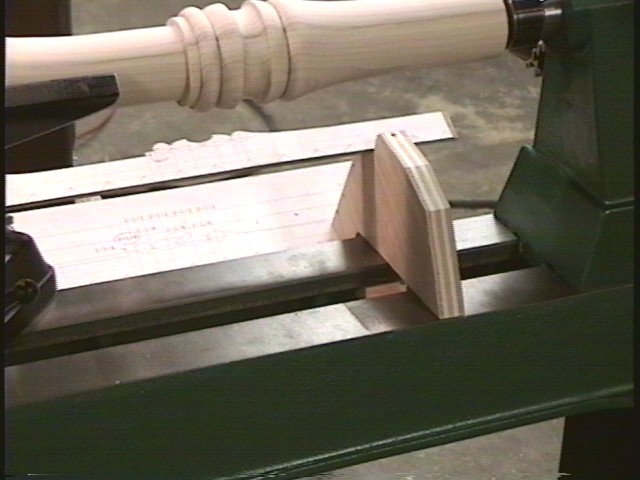
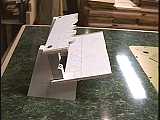
| Here is an overview of how the templates are positioned on
the lathe. They're behind and below the wood, so that when I look at
the wood while I turn the patterns are lined up right. The jig ends
are near the ends of the wood, so they don't get in the way of
positioning the tool rest.
|
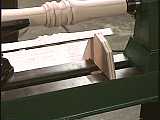
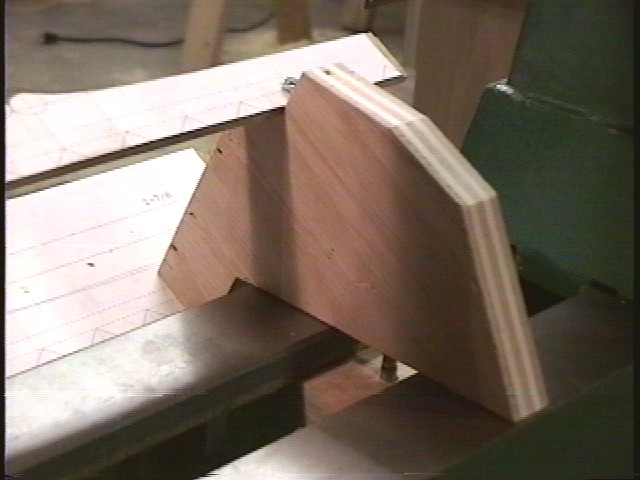
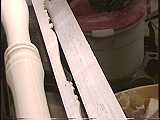
| Here's a closeup of one of the jig ends. You can see how
it's bolted to the ways and extends behind and below them. Because of
the way the bottom template is attached, the jig gets in the way of
turnings less than 1-1/2" diameter, but it's the best I could come up
with on short notice and my projects tend to be bigger than that
anyway.
|
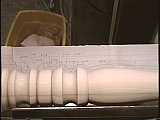
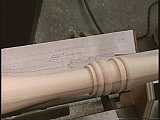
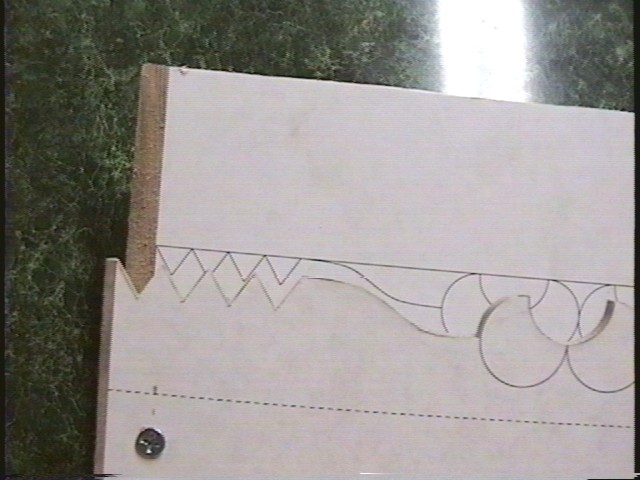
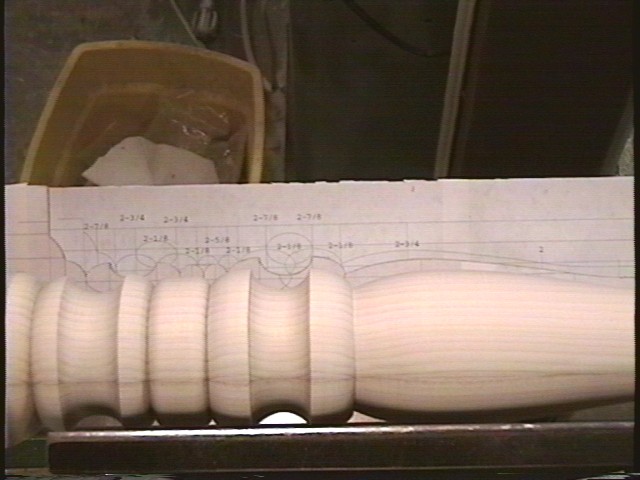
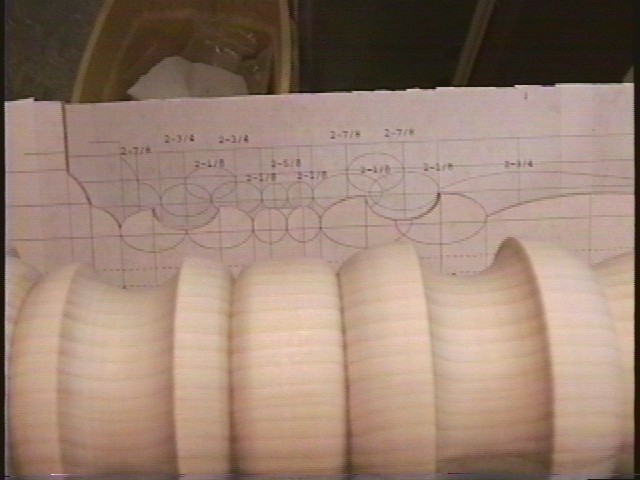
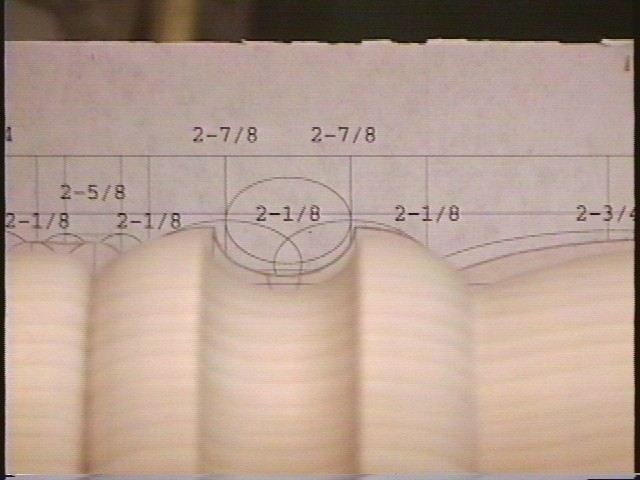
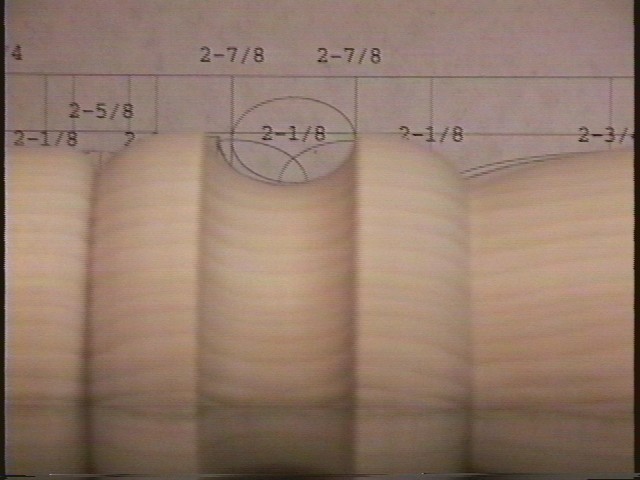
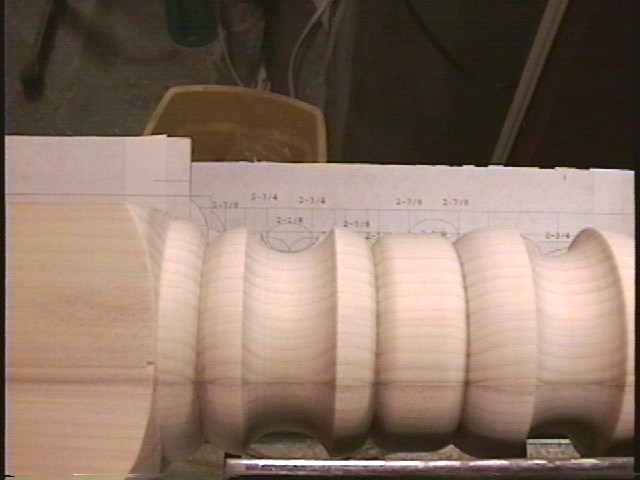
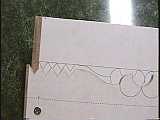
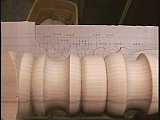
| Ok, in these three pictures you get an idea of how the jig
works. The pattern is full-size, and it's lined up with the wood, so
when you're looking at the wood you see the pattern right behind it.
If you're not looking straight at the pattern - i.e. you're looking at
it from an angle - the two patterns won't line up. The pattern itself
has extra vertical lines at key points so you can line them up even
when the wood isn't the finished size yet - no more measuring to put
those pencil lines on the wood! Just line up the marks and the
pencil, and it's in the right place. In the third picture, most of
the pattern isn't lined up, and you can see how parallax makes that
obvious.
|
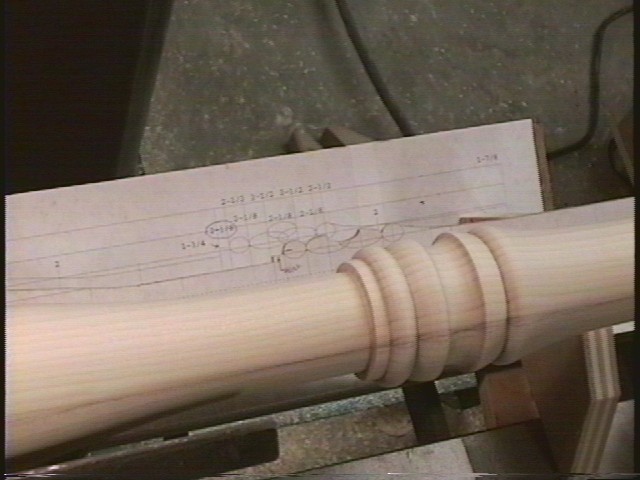
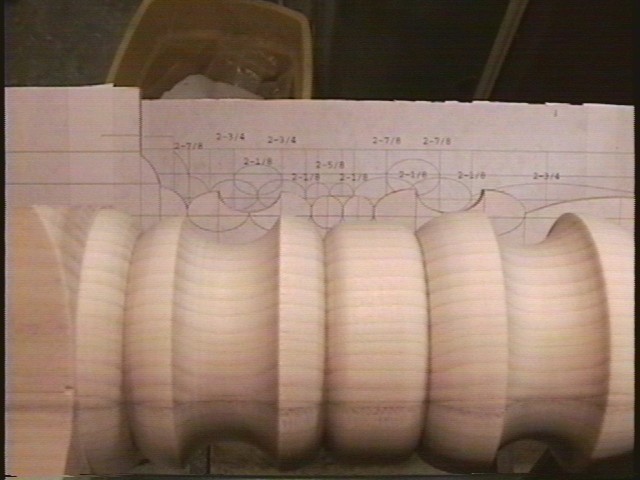
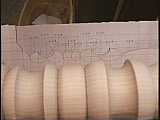
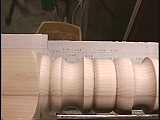
| Here's an example of the jig in use. In the first picture,
you can see a cove lined up with it's pattern, but not quite. If we
want to work on the right side of the cove, we shift our point of view
a little to the right and down, and as you can see in the second
picture, the right side of the cove lines up with its pattern
perfectly! You can also see clearly what it looks like when it's not
lined up - just look at the left side of the cove.
|
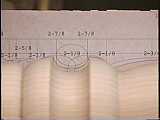
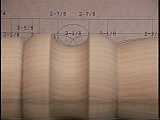
| Another example of lining things up. In the first picture,
we're lining up the right edge of the cove with its vertical markers
(the one labeled "2 3/4" at the top of the back pattern). In the
second picture, we're checking the depth of the cove by lining it up
with it's pattern. If the cove is too shallow, when you line up the
cove and the front pattern, the back pattern is still too high.
|
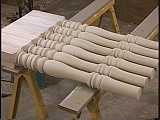

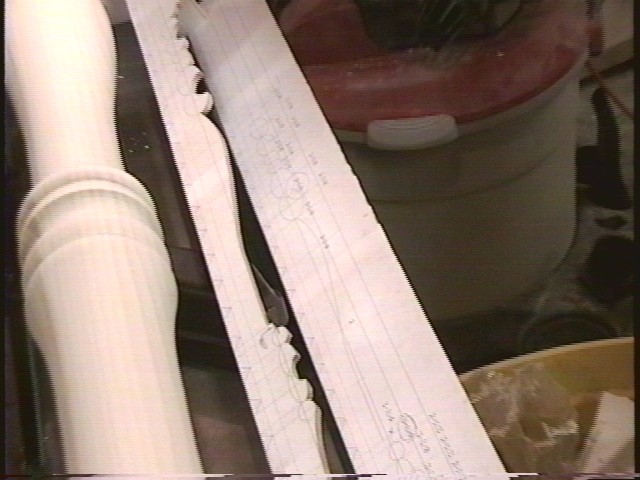
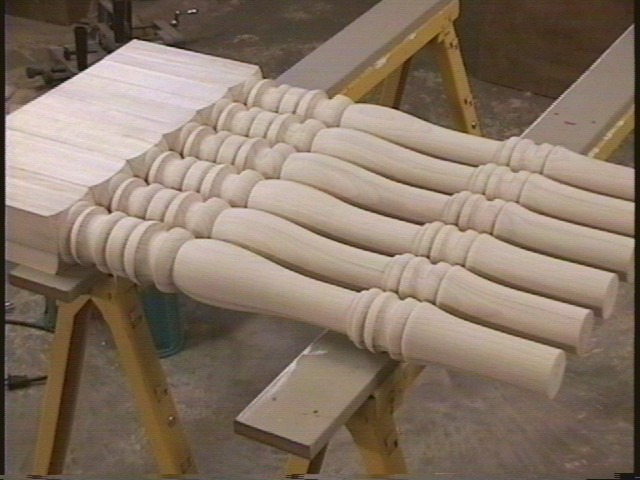
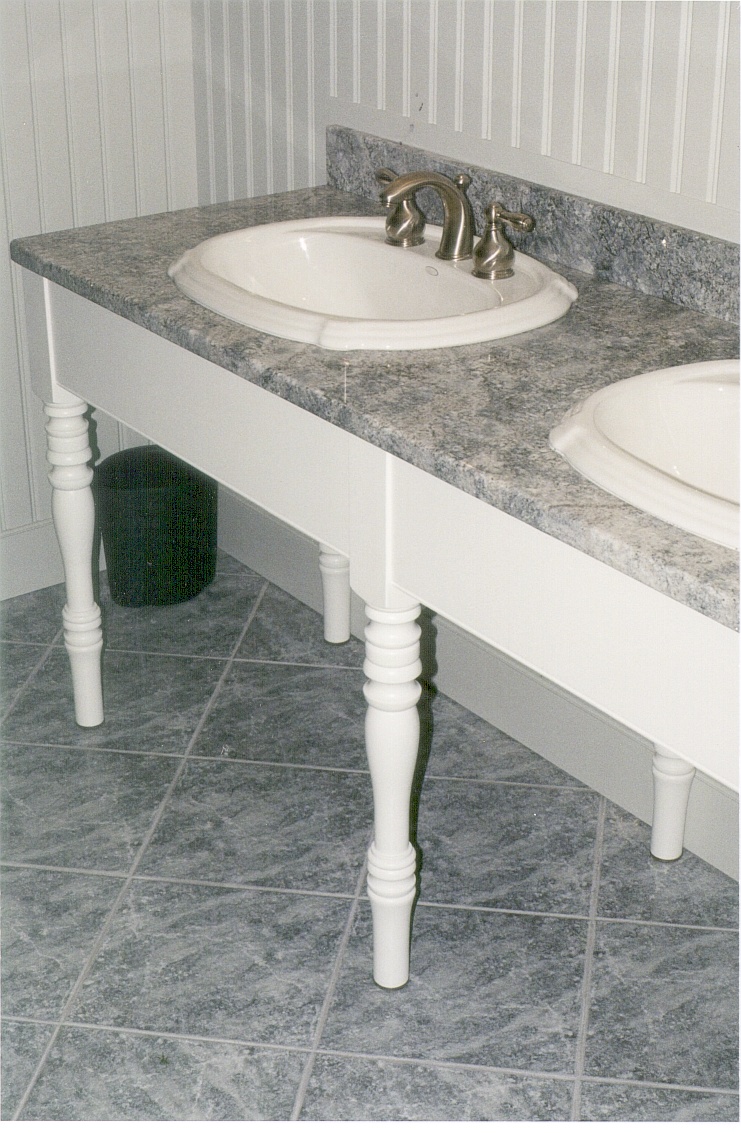
| The final product! The first two legs (foreground) took the
longest, as I was still setting up the jig and calibrating it. Even
as far along as the fifth leg, it was still taking me almost three
hours per leg. For the last leg I got smart and stopped using the
calipers, and it only took an hour and a half! More photos.
|
 This photo shows the end brackets for the jig. You can download a 5k PDF for the plans I used to
make these, but they're scaled for a 14" lathe , max 3" square blank,
and 14 degree viewing angle, so you'll have to adjust them as needed
for your lathe and the angle you tend to view the wood at.
This photo shows the end brackets for the jig. You can download a 5k PDF for the plans I used to
make these, but they're scaled for a 14" lathe , max 3" square blank,
and 14 degree viewing angle, so you'll have to adjust them as needed
for your lathe and the angle you tend to view the wood at.